There was a problem loading the comments.

How to Delay or Schedule Sending Mail in Office 365

Support Portal  »  Knowledgebase  »  Viewing Article

  Print

Outlook on the web

  1. After composing your message, select the dropdown menu next to the Send button.

  2. Select Send later:

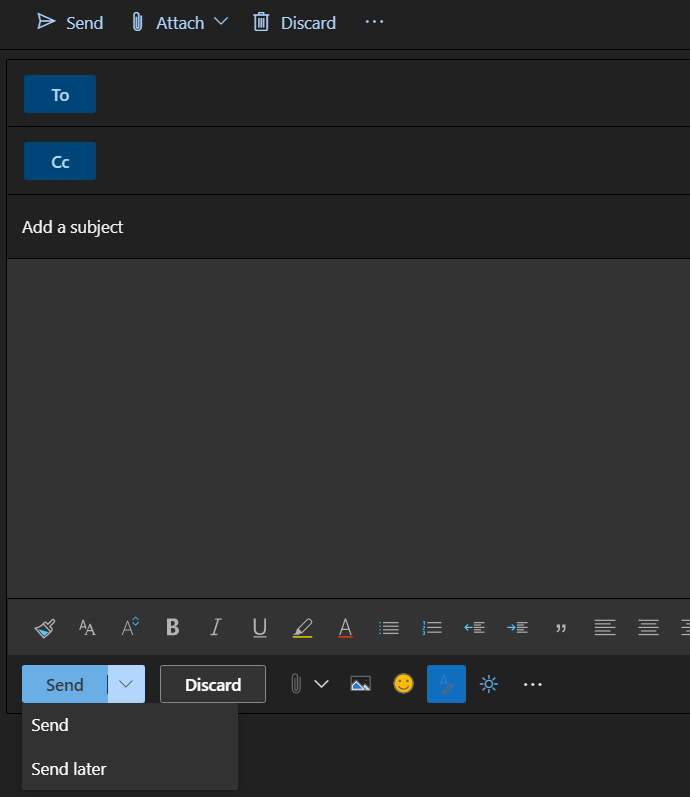
  3. Select the date and time you'd like the email to be delivered and click Send.

Outlook for Windows

  1. In the message, click the Options tab.
    8ebefac67a218d44386037fe6e194525e78a5114d35a3ccc3b1565733e7d47810e9978f7b4a9c24d?t=1627eb711ce146be6e3fcc6109e145f8

  2. In the More Options group, click Delay Delivery.
    19d71fb6803d51ac06a5e83128e889eebedb1101a79a395de791b1ccd958afe6fdac0af46d4a3fdb?t=6a9c0443556a57dc2b0dc68effc3077a

  3. Under Delivery options, check the box for Do not deliver before, and select a date and time.
    71819959a42a2dc3358223b803eff8f3a4ab708a41202720c08e6c190a711f3ba2c36a3b34314d02?t=513034a1e972c25df6077c78347fa49d

  4. After you click Send, the message remains in the Outbox folder until the delivery time.
    a26585b4c90f275b6e9c21a09040f91d8adec33817bc106b8c4f8677b2c41d6af3733276348291d5?t=f0042b19f99c7a0af4a4df43036628aa


NOTE: When using Outlook for Windows - the app must be open, and your laptop connected to the internet for the email to send. If not, it will send as soon as possible after the scheduled time.

This is different to Outlook on the web, which will send the email at the defined time regardless of whether Outlook is open or you are connected to the internet.


Share via

Related Articles

© IT Services